
 This image has inverted colours.
  Gaussian Blur has been added to this image.
  Bass relief has been added to this image.
 This photo is in black and white.
 This is the image in photocopy.
 In this image the colour balance has been changed.
 Motion Blur has been added to this image.
 Film Grain has been added to this image.
 On this image the clone stamp has been used.
Noise has been added to this image.

I used brush tool on this image.
I made this image look like an oil painting.

In this picture I added plastic wrap.

I made this image like a stained glass window.

In this image I used the eraser to rub out his eyes.

In this image I have added the mosaic effect.

In this image I have added some text with a drop shadow.

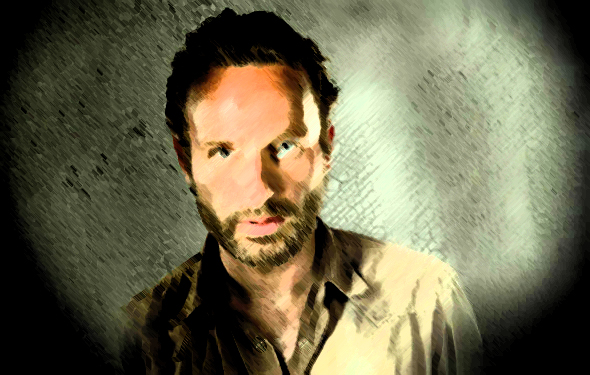
On this image I added a diffuse glow.

On this image I have added a lens flare.

On this image i rotated it 180 degrees

